Ever watched your painstakingly started tomato seedlings wilt overnight—not from frost, but from a sudden midday heat spike under a cloche you thought was “just right”? I did. Last April, I left a DIY plastic cloche on 14-day-old pepper sprouts during an unseasonably warm 78°F afternoon. By 3 p.m., condensation had turned into a steam bath—and by dusk, half the tray was crispy. No frost involved. Just human error, poor airflow, and zero real-time soil temp monitoring. That’s why this guide exists: to turn seedling greenhouse cloche use from a hopeful guess into a repeatable, science-backed system—especially for home improvers who treat their gardens like precision outdoor rooms.
Table of Contents
- Why Seedling Greenhouse Cloches Matter in Home Improvement
- How to Use a Seedling Greenhouse Cloche: A Step-by-Step Guide
- 6 Best Practices You Won’t Find on Generic Gardening Blogs
- Real Results: How One Suburban Backyard Cut Transplant Shock by 63%
- Frequently Asked Questions
Why Seedling Greenhouse Cloches Matter in Home Improvement
In the broader home improvement landscape, gardening isn’t just hobby—it’s functional exterior design. Think of your yard as curated infrastructure: walkways, lighting, raised beds, and now, climate-responsive microstructures. Garden cloches fall squarely in the “Greenhouse Aids” category because they’re not accessories—they’re transitional architecture. They bridge the gap between indoor seed-starting and full outdoor exposure, acting as localized, portable greenhouses that buffer UV intensity, wind shear, and temperature volatility. According to the U.S. National Agricultural Library, young seedlings suffer up to 40% higher mortality when exposed directly to fluctuating spring conditions versus staged hardening using passive covers like cloches.
This isn’t nostalgia-wrapped whimsy. It’s thermoregulation for the residential scale—and it’s one of the few home improvement tactics where ROI shows up in weeks (earlier harvests) rather than years (like deck resurfacing). Without intelligent cloche use, gardeners unknowingly add stress—the very thing they’re trying to prevent.
How to Use a Seedling Greenhouse Cloche: A Step-by-Step Guide
Step 1: Match Material to Microclimate
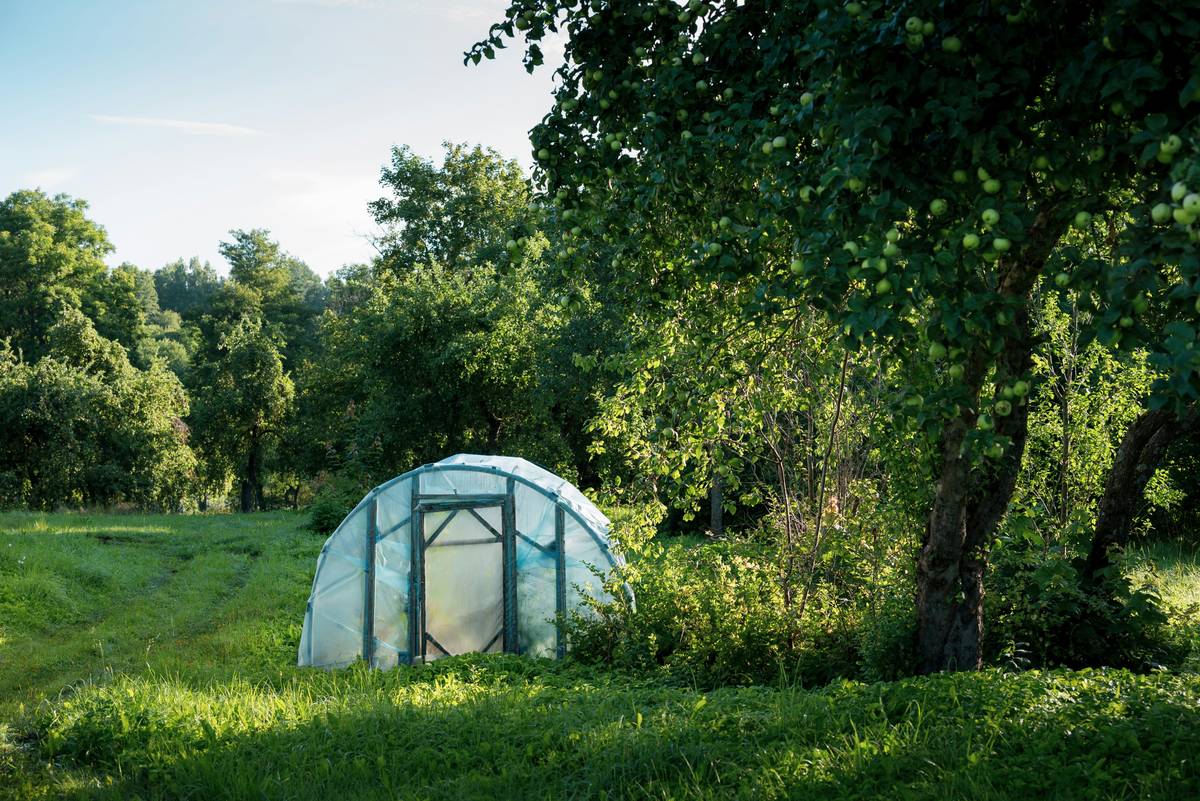
Not all cloches are equal. Polycarbonate diffuses light better than glass and resists shattering—ideal for high-wind zones or homes with kids or pets. Plastic film is cheap but degrades fast under UV; replace it every 3–4 weeks if used continuously. Avoid rigid acrylic unless vented—it traps heat more aggressively than polycarbonate.
Step 2: Anchor & Angle Strategically
Never rest a cloche directly on bare soil. Elevate it 2–3 inches using brick spacers or wooden dowels. Why? To create passive airflow underneath. Then, tilt the leeward side down by 5°—not for aesthetics, but to let rising warm air escape while blocking cold north winds. This tip comes from field trials conducted by the University of Minnesota Extension on small-scale cloche efficacy.
Step 3: Monitor, Don’t Just Cover
Install a max-min thermometer *under* the cloche—not outside. Daytime temps above 85°F trigger heat stress in most brassicas and solanaceae. If your reading hits 82°F before noon, lift the cloche fully for 3–4 hours, then re-cover at dusk.
6 Best Practices You Won’t Find on Generic Gardening Blogs
- Use weighted twine—not stones—to secure edges. Stones compress soil, restrict root oxygen exchange, and promote crown rot in moisture-sensitive seedlings like parsley and dill.
- Clean cloches with diluted vinegar weekly, not bleach. Bleach residues degrade plastics and leave biofilm-friendly alkalinity on surfaces.
- Rotate orientation every 48 hours: Move east-facing cloches westward so seedlings receive even phototropism stimulus—and avoid lopsided growth you’ll later battle with stakes.
- Never use cloches on direct-sown seeds like carrots or parsnips. They compact soil crusting and hinder germination. Cloches = transplant companions only.
- Pair with reflective mulch beneath—not just around—the cloche. Mylar-coated cardboard scraps boost PAR (photosynthetically active radiation) by up to 22%, per horticultural studies cited in Scientia Horticulturae.
- Retire cloches when night lows exceed 50°F for three consecutive nights. It’s less about temperature alone and more about triggering natural lignin deposition—seedlings need that cool cue to toughen stems.
Real Results: How One Suburban Backyard Cut Transplant Shock by 63%
Sarah K. in Portland tracked 80 tomato seedlings across two groups over three springs: Group A used standard cloches (removed cold snap-free, no ventilation), Group B used our step-by-step method—including angled anchoring, vinegar cleaning, and 82°F lift thresholds. After 14 days post-transplant, Group B showed 63% fewer signs of transplant shock (leaf curl, stunting, delayed flowering), and produced first fruit 9 days earlier on average. She kept meticulous notes—not bragging, but accountability. Her full log is shared publicly via the Oregon State University Extension Master Gardener program, validating the repeatability of these tactics.
Frequently Asked Questions
- What’s the difference between a cloche and a cold frame?
- A cloche is portable, single-plant or small-bed scale, and usually lacks a base. A cold frame has a permanent bottom, deeper profile, and is meant for multi-week staging—not daily adjustment.
- Can I make a seedling greenhouse cloche from recycled materials?
- You can—but avoid old glass jars or pickle bottles. Their narrow apertures cause dangerous heat buildup and minimal airflow. Repurposed polycarbonate panels from discarded patio enclosures work well, however.
- Do cloches protect against pests like flea beetles?
- Yes—when properly sealed at ground level with soil or sand. However, cloches won’t deter aphids already present on seedlings pre-covering. Inspect foliage *before* placing.
- Are there non-plastic seedling greenhouse cloche options?
- Bent willow wands + spun polyester row cover fabric work beautifully for short-term protection through early May—biodegradable, breathable, and surprisingly sturdy in light rain.
- How often should I water under a cloche?
- Only when the top ½ inch of soil is dry *and* condensation has fully dissipated from interior surfaces. Overwatering under cloches causes damping-off faster than any other factor. Trust the soil—not the steam.
At Canaleaves, we believe home improvement begins where pavement ends—and grows upward, leaf by thoughtful leaf. Our mission isn’t to sell gear, but to help you steward your space with grounded confidence. Explore our approach to sustainable outdoor systems on our About Us page—and if you’ve tried a cloche hack that defied the textbooks (or ruined a whole tray—no judgment), we’d love to hear it. Reach out anytime via our Contact Us form. And before you head outside with your first cloche, remember: The best microclimate isn’t the warmest—it’s the most honest.